- Why it's updated, not retired: it's a how-to that still answers a real question. Production's six steps become seven, in the order of the new model: application, protection, level, agreement, deposit, proof, release.
- Out: "state-of-the-art online application", "has never been easier" and "in no time" (meta description); "Verify the deposit… As an add-on" (verification is now included in every Pro plan); "electronically or physically" (physical deposits aren't confirmed for the new line-up).
- The crumb goes to About us, where production lists the blog. The kit has no blog listing yet (see to-confirm.md); point the crumb at it once it exists.
- 16 Oct: Continuity Pro added; base Continuity no longer includes Agentic Verification, so verification is now "included in every Pro plan".
- Pill: production shows no category on this post. "Getting started" matches the guide offered below.
How to set up a software escrow account with Codekeeper.
Seven guided steps, whether you supply the software or rely on it: from the first call to the day a deposit is needed.
- Step 1 points to pricing, not to a checkout. Production sends readers to a payment page. Whether the October list can be bought self-serve isn't confirmed; if it can, link the checkout here.
- Flagged: release access "typically within two to three hours" (Trust Center FAQ) and setup "one to two weeks" (production FAQ). "50+ integrations" and "deposits sync daily" are production claims on to-confirm.md.
- The screenshot is a placeholder for the new app. Production's six step banners ("POST 6 - Codekeeper_blog_week 13_br 1–6") are left out: they're older graphics that may show the old product names.
- The existing-customer callout uses the internal decision (plans stay as they are until renewal); customer success must confirm it.
- 16 Oct: Continuity Pro added. Base Continuity is now everything in Resilience, and steps 2 and 6 credit Agentic Verification to the Pro levels, including Continuity Pro; the "choose the level" line already says Pro adds it.
Setting up protection with Codekeeper takes a few guided steps, whether you're the vendor who supplies the software or the customer who relies on it. Here's what happens at each one.
1. Book a demo
The quickest way to start is a demo. A specialist walks you through the platform with your own applications in mind, and helps you choose a protection and level for each one. If you're not sure whether you're the depositor or the beneficiary, you'll work it out together.
Prefer to compare prices first? See pricing. Prices are per application per month: Escrow from $199, Resilience from $399 and Continuity from $1,449, with separate rows for software, SaaS and AI. Escrow means the deposit is released to you and you run the recovery. Resilience costs more because we do the recovery. Continuity costs more again because we also keep the live environment switched on.
2. Add your applications and choose a protection
Everything in Codekeeper starts with the application: a vendor's software, a SaaS platform, an AI system or something you built yourself. For each one, choose the protection by what should happen if it fails.
- Escrow: the deposit is released to you, and you run the recovery.
- Resilience: the deposit comes to Codekeeper, and we run the recovery.
- Continuity: everything in Resilience, and we also keep the live environment paid and switched on for an agreed period while we recover.
Then choose the level. The base level is everything you need to be protected. Pro is everything you need to recover: it adds Agentic Verification. Need daily backups of systems you run yourself? Software Backup attaches the same way. Not sure which to choose? Compare the three.
3. Set up your account
The app guides you through account setup: your company details, your settings and your team, whom you invite from the dashboard. To begin, have your company details, team contacts and technical preferences to hand. It also helps to know which protection you want and how the agreement will be structured.
Onboarding is guided, with dedicated contacts for compliance, legal, technical and billing questions.
4. Create and sign the agreement
The agreement sets out what's deposited, each party's responsibilities and what happens when the deposit is needed. With Escrow, that's the Escrow Agreement. With Resilience, it's a Resilience Arrangement.
Choose the structure that fits:
- Two-party: the vendor and Codekeeper, so protection can extend to any client who asks.
- Three-party: the agreement also names one beneficiary.
- Multi-party: it names several beneficiaries, each with its own release conditions.
Start from our template or your own. Your lawyers can mark it up in Word or PDF, and our legal team reviews the changes. Every party to the agreement then signs it. Deposits open once the agreement is signed. More about the agreement
5. Connect your repositories and make the first deposit
Connect your systems once through our 50+ integrations, and deposits sync daily. For GitHub, you connect repositories with OAuth and choose the branches or assets to include. For AWS and similar platforms, you give us the details, such as bucket names or URLs, and we pull in what's needed. You can make manual deposits on the same plan too.
An automated check then confirms what's in the deposit, with a vault report, and you receive a Software Resilience Certificate. See the integrations
6. Prove it builds
Holding the deposit is the start. Knowing it builds is the goal. With Escrow Pro, Resilience Pro and Continuity Pro, Agentic Verification is included: AI agents rebuild the deposit in the Codekeeper AI Verification Lab, with no help from the vendor, in hours. Four rebuilds a year are included, and you start them when you choose.
Every run returns a report. Anything missing is flagged so the depositor can add it, and a successful rebuild issues a Recoverability Certificate, with build steps, an SBOM and an Exit workbook. If you need the whole exit tested, add an Exit Exercise to any plan.
7. If you need it: release or recovery
If a release condition in the agreement is met, such as the vendor's insolvency or a failure to support the software, the beneficiary asks for the release and provides the supporting documents. We validate the request before anything becomes accessible: a legal review, verification of the release condition and authentication of the beneficiary. Once the conditions are verified, beneficiaries typically have access within two to three hours.
With Resilience or Continuity, the deposit comes to Codekeeper instead, and we run the recovery. Continuity also keeps the live environment paid and switched on for an agreed period while we do.
How long it takes
Once your teams are involved, setup usually takes one to two weeks, depending on how quickly each party responds. The first step is a demo: we'll look at the applications you rely on and suggest a protection and level for each one.
Keep reading
Before you start.
Choose what happens when it fails
Escrow, Resilience or Continuity: two questions decide which protection fits.
The escrow agreement
What an escrow agreement covers, and how to work from our template or your own.
Connect your repositories
The systems deposits sync from, and how each connection works.
Free guide
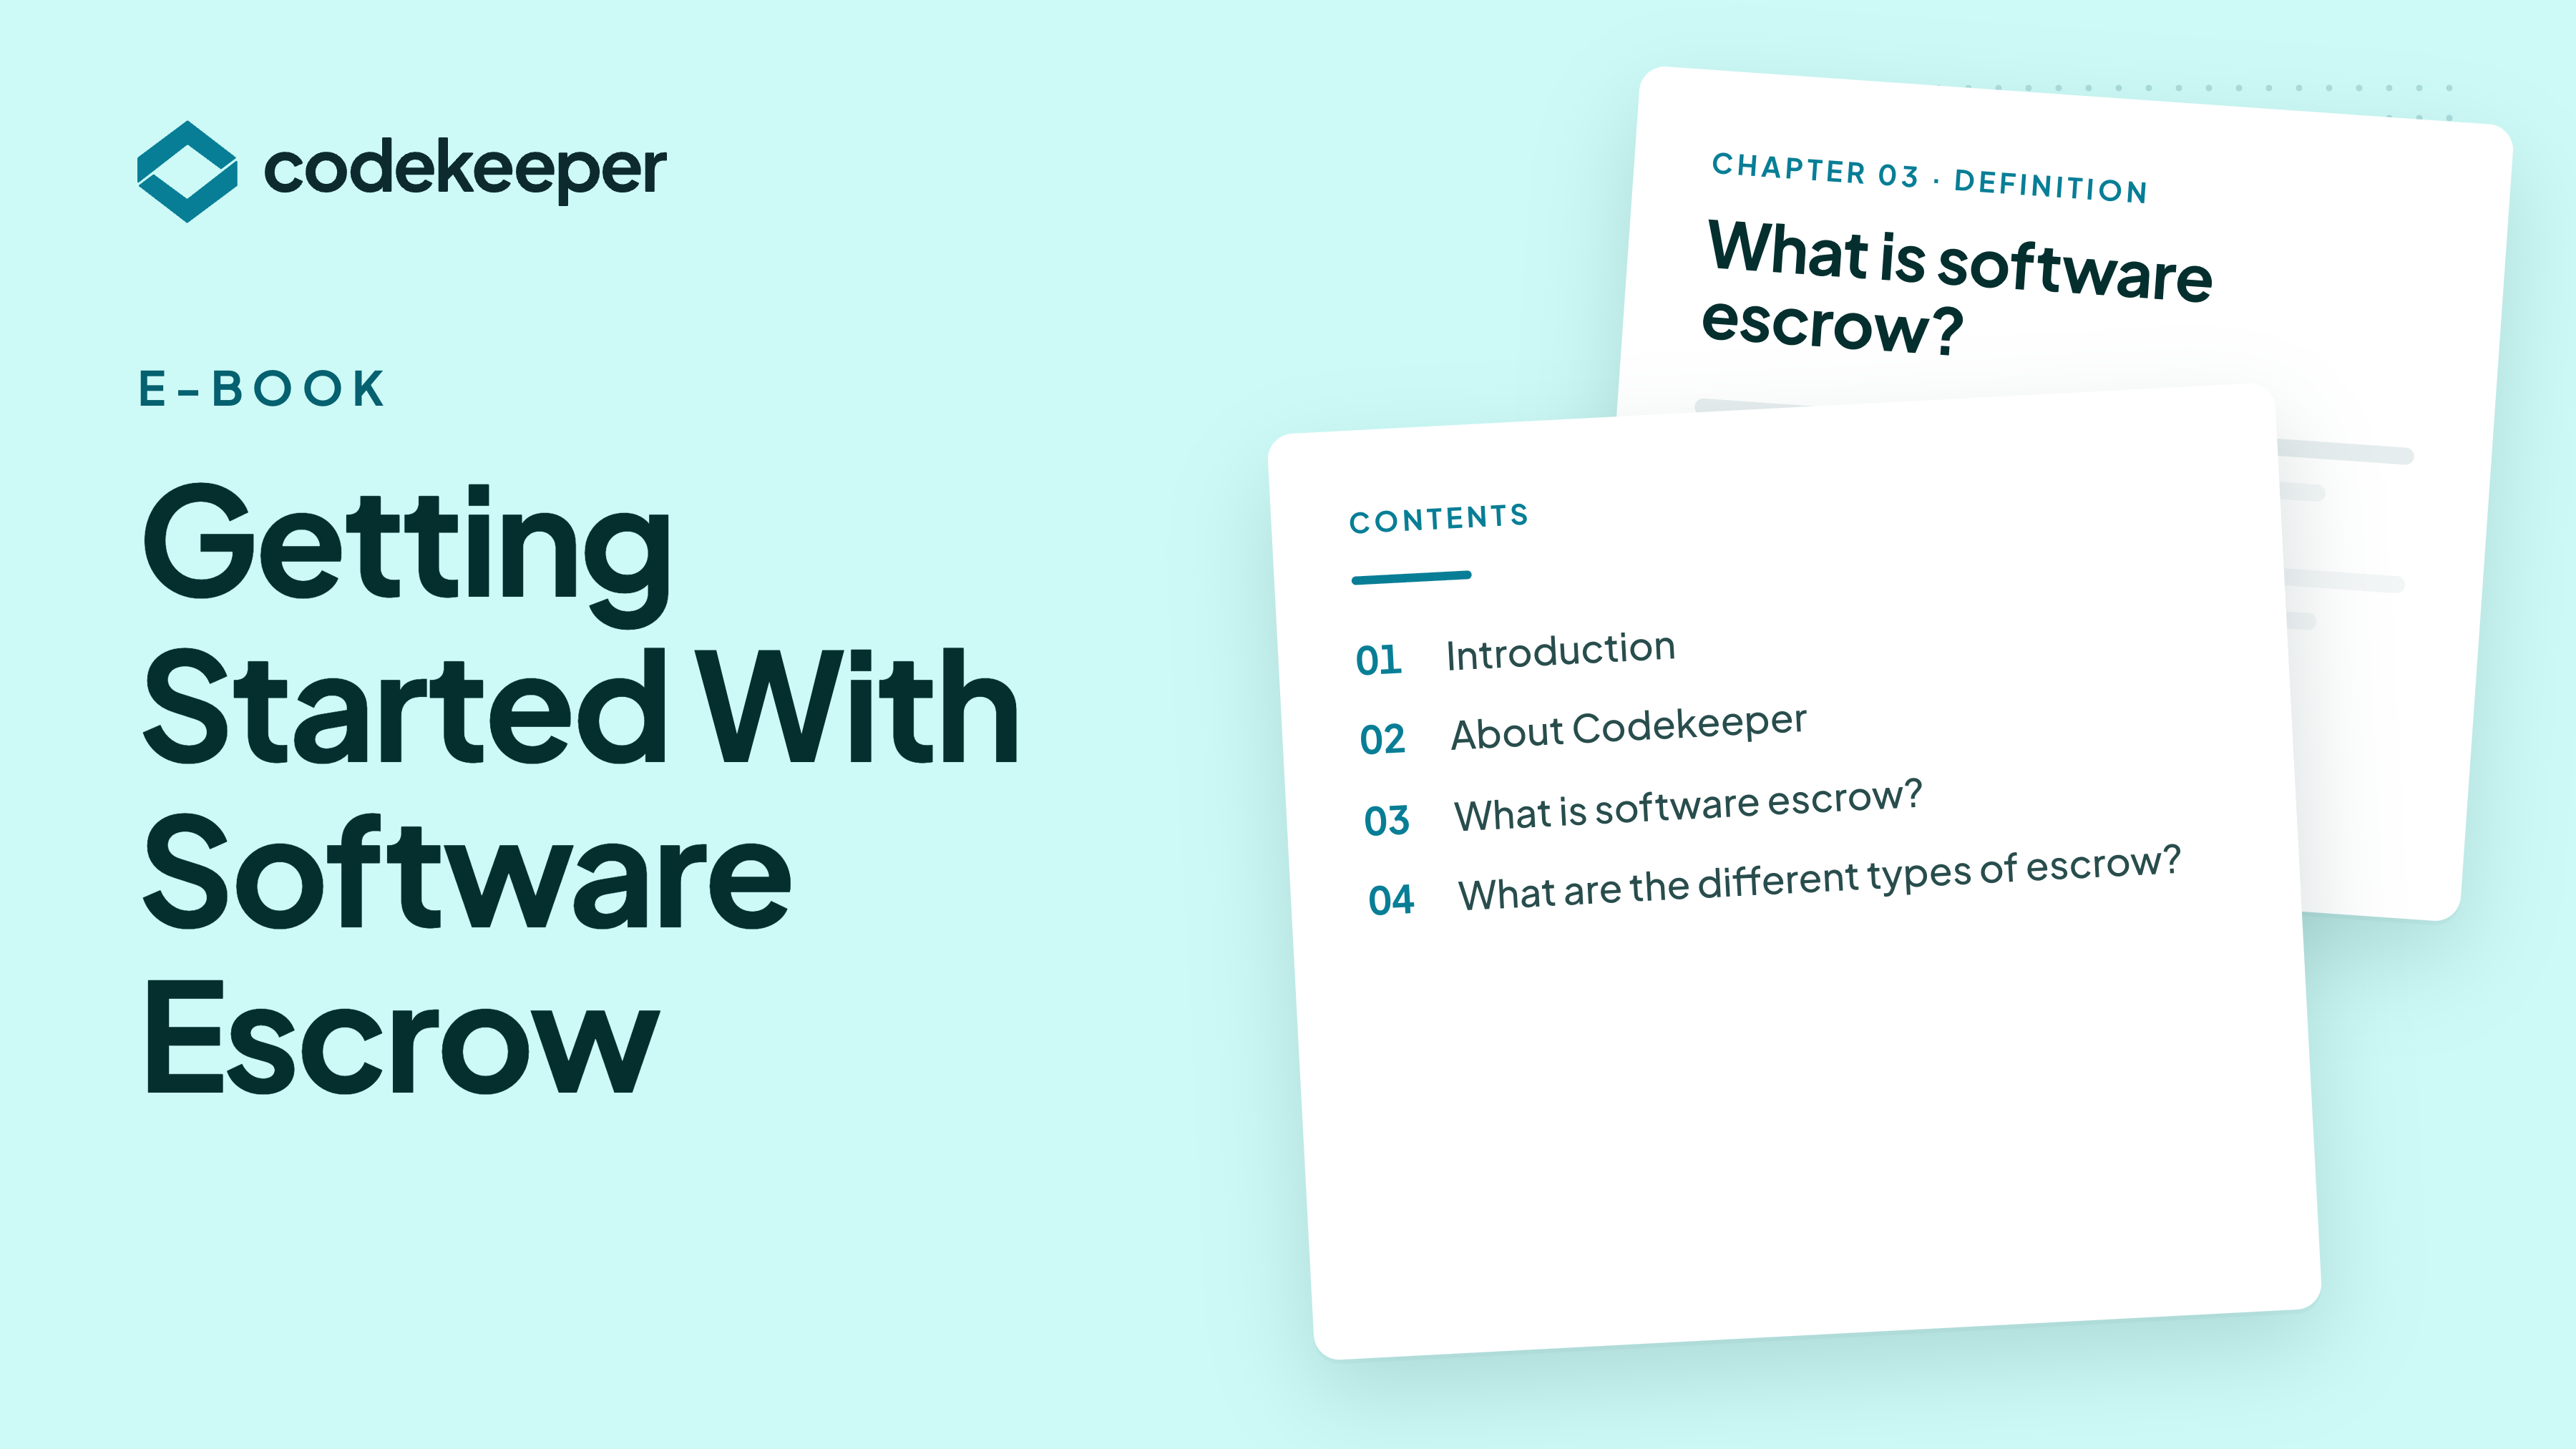
Getting Started With Software Escrow
Practical first steps: find your critical vendors, set up deposits and build the evidence your auditor will ask for.
- Finding the vendors you can't do without
- Setting up deposits that stay current
- Building evidence for DORA, NIS2, CRA and CPS 230 files
Ready to set it up? Start with a demo.
We'll look at the applications you rely on and suggest a protection and level for each one.